You have spent weeks nursing your cannabis plant through the vegetative stage, and now comes the exciting part. The flowering stage is when buds actually form, and everything you do over the next 8 to 12 weeks directly affects the size, density, and potency of your harvest. Knowing what to expect each week helps you make better decisions about feeding, watering, and when to finally chop.
This guide covers photoperiod strains.
Autoflowers follow a similar progression but on their own timeline regardless of light schedule.
Week 1: The Transition (Stretch Begins)
When you flip your light cycle to 12 hours on and 12 hours off, the plant does not immediately start producing buds. The first week is a transition period. Your plant senses the shorter days and begins preparing to flower, but it also enters a rapid growth phase commonly called "the stretch." During this week, your plant may grow noticeably taller, sometimes doubling in height over the next two to three weeks.
Continue feeding vegetative nutrients or a transition blend. White hairs (pistils) may appear at the nodes by the end of the week.
Week 2: Pistils Appear
By the second week, you should see small clusters of white pistils at the bud sites, especially at the top of the plant and where branches meet the main stem. The stretching continues but starts slowing down. This is a good time to do your last round of defoliation if needed.
Remove any large fan leaves that are blocking light to lower bud sites, but do not go overboard. Switch to bloom nutrients now if you have not already.
Week 3: Bud Sites Form
The stretch is mostly done by week three. Your plant has reached or is very close to its final height. The early pistil clusters are starting to group together into recognizable bud formations. Increase your bloom nutrients slightly.
The plant is hungry now and will benefit from higher levels of phosphorus and potassium. Keep an eye on the lower branches. If any are not receiving light and look spindly, you can remove them to redirect energy to the main bud sites.
Week 4: Buds Bulk Up
Week four is when things start to look exciting. The buds are growing visibly larger day by day, and the pistils are thick and white. You might notice the first hint of that distinctive cannabis smell as trichomes begin to develop on the sugar leaves surrounding the buds. Keep your nutrient schedule consistent and make sure your exhaust fan and carbon filter are doing their job, because the smell only gets stronger from here.
Monitor humidity closely. You want to keep it below 50 percent to reduce the risk of bud rot.
Week 5: Trichome Production Kicks In
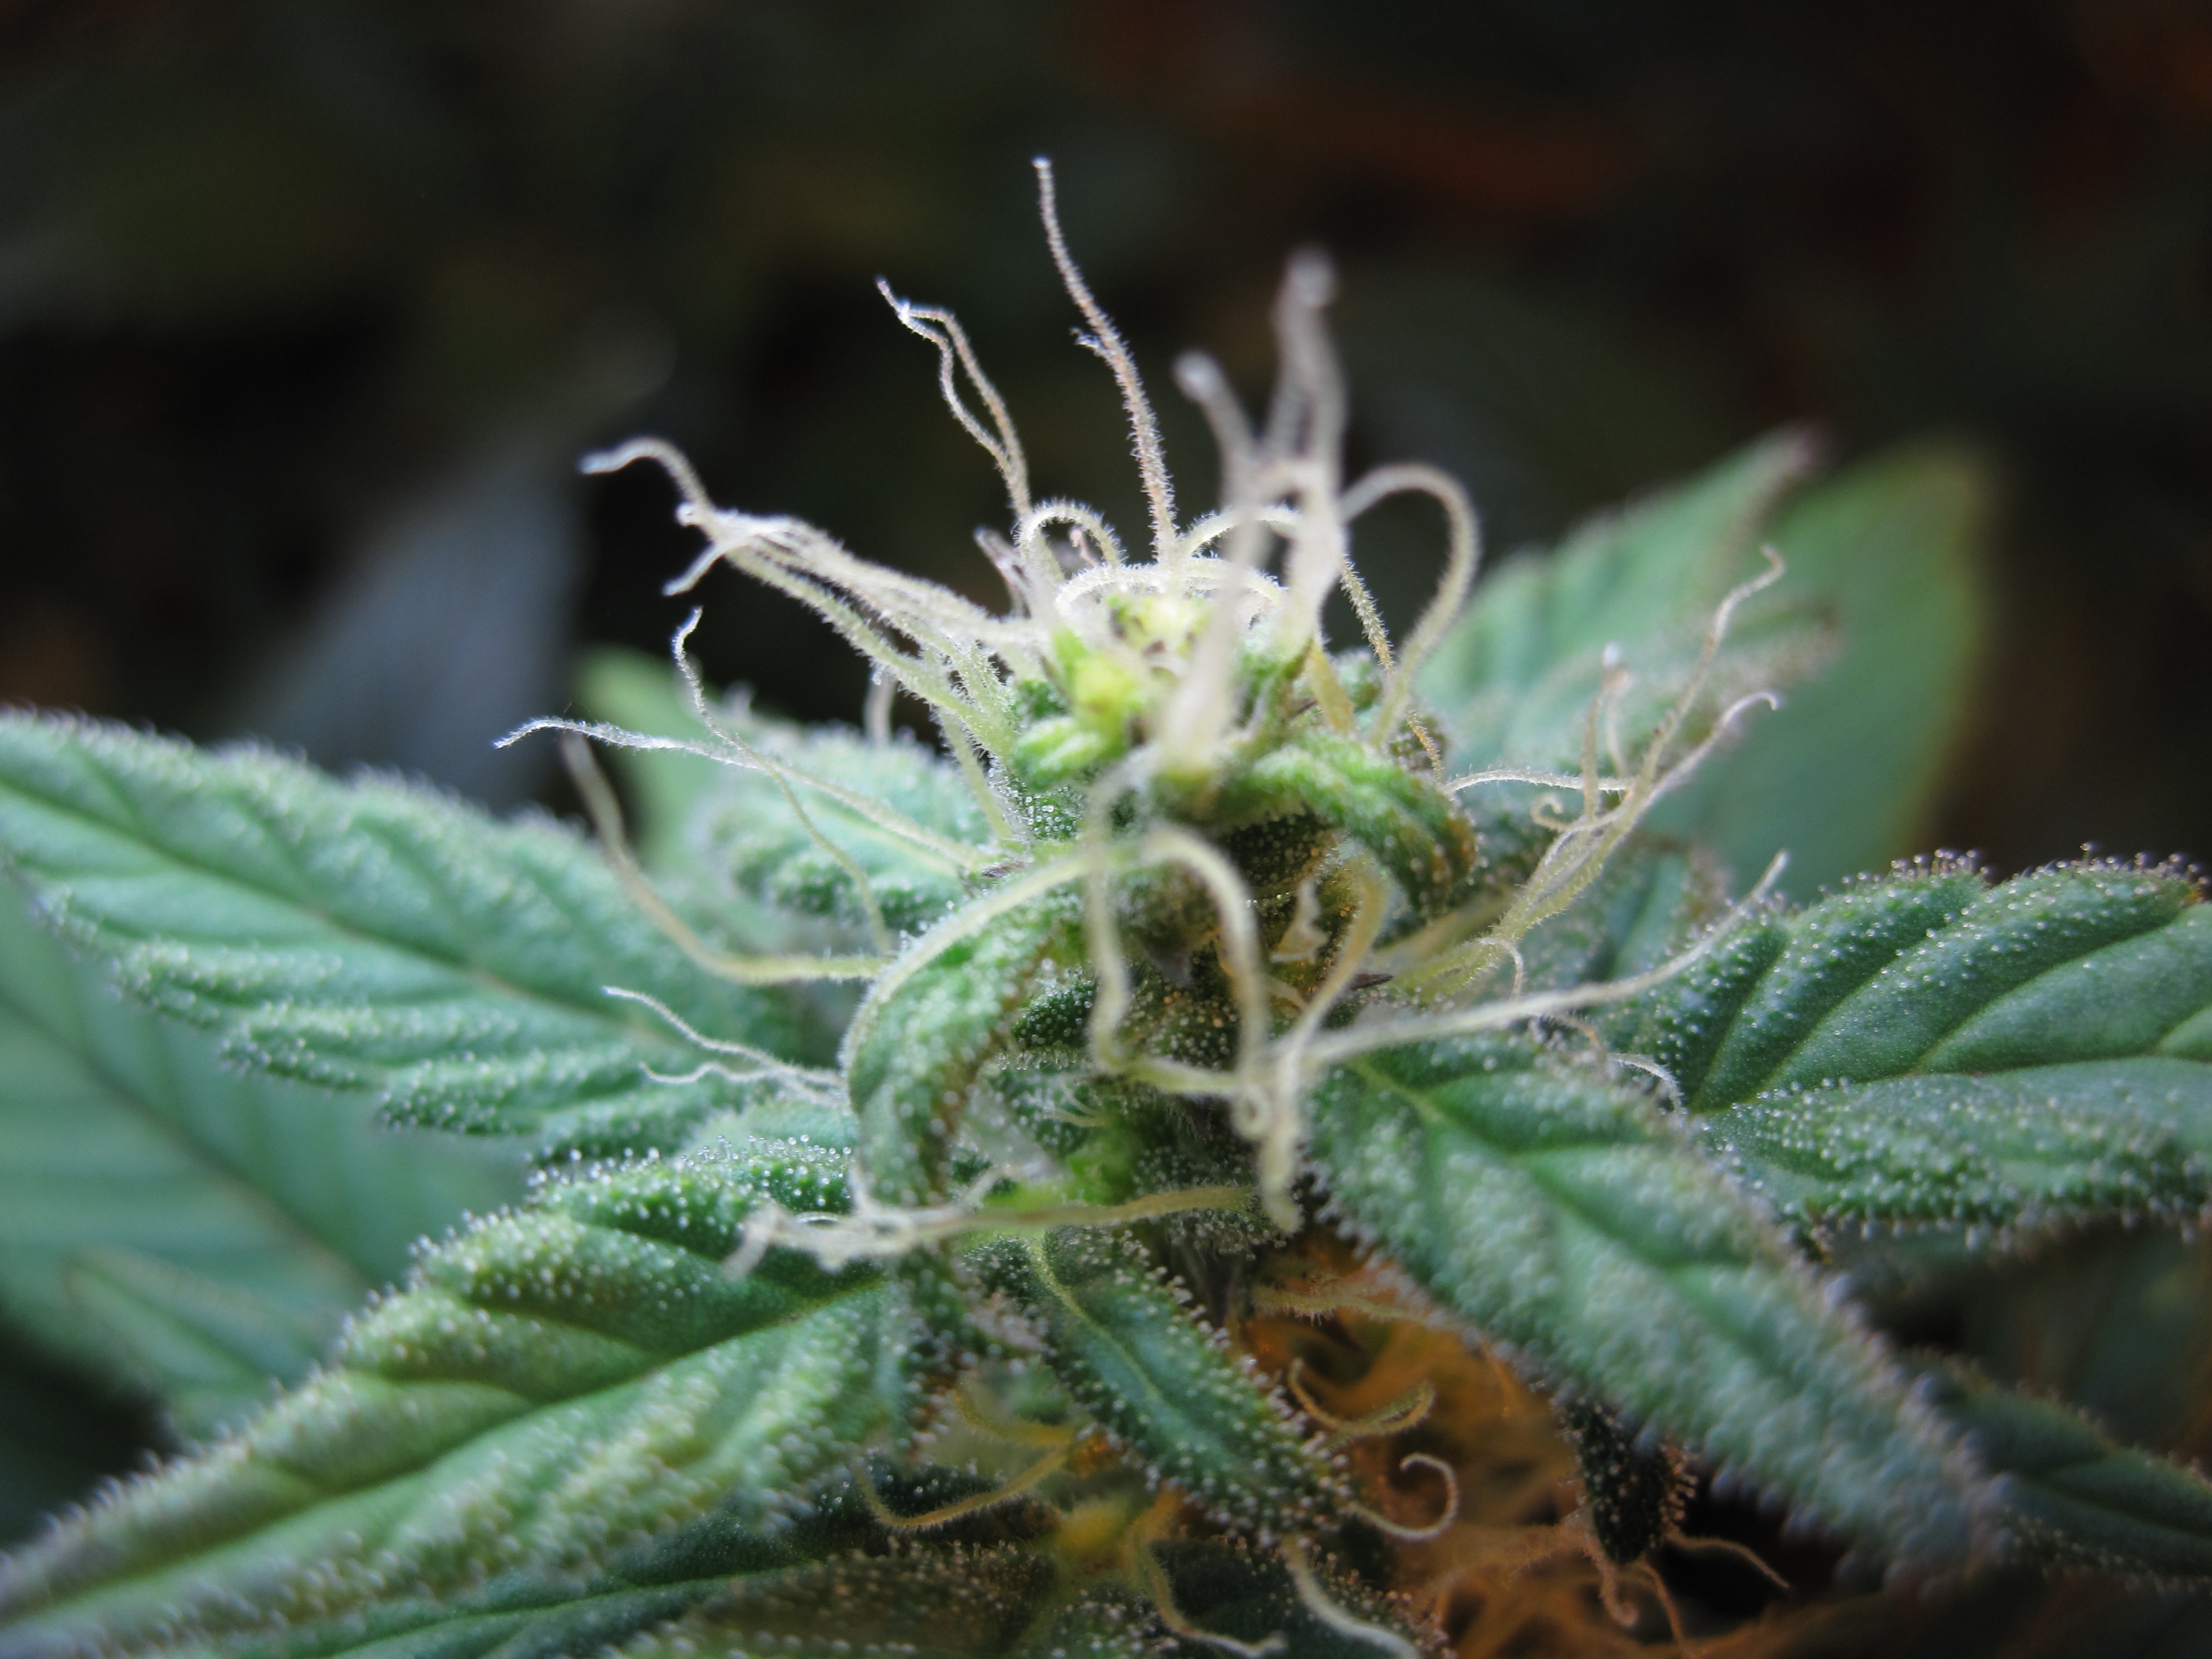
The buds are now covered in a visible layer of trichomes, those tiny, frosty, mushroom-shaped glands that produce cannabinoids and terpenes. The smell is getting much stronger. The buds are fattening up and starting to feel firm when you gently squeeze them.
Some of the white pistils may start to darken and curl inward, which is normal. Keep feeding bloom nutrients and maintain steady environmental conditions.
Week 6: Peak Flower Development
This is the heart of the flowering stage. Buds are dense, trichome-covered, and stacking on top of each other. You can see the calyxes swelling individually. Some growers add a bloom booster during weeks five and six.
Use these products cautiously and never exceed the recommended dose. Overfeeding at this stage causes nutrient burn on the sugar leaves.
Week 7: Ripening Begins
The buds are close to their final size. More pistils are turning orange or amber, and the trichomes are transitioning from clear to milky white. If you have a jewelers loupe or a USB microscope, now is the time to start checking trichome color regularly.
Some growers begin flushing during week seven if they plan to harvest at week eight or nine.
Week 8: Decision Time
Many indica-dominant strains are ready to harvest by week eight. Sativa-leaning strains might need another two to four weeks. The key indicator is trichome color:
- Mostly clear trichomes: too early, low potency.
- Mostly milky/cloudy trichomes: peak THC, energetic high.
- Mix of milky and amber trichomes (20 to 30 percent amber): more body-heavy, relaxing effect.
- Mostly amber trichomes: past peak, more sedative, less THC.
Weeks 9 to 12: Extended Flowering (Sativa Strains)
If your strain needs more time, continue monitoring trichomes weekly.
Keep the environment stable. The biggest risks during late flowering are bud rot from high humidity and light stress from unstable schedules. Late-flowering sativas often have a final burst of trichome production in the last week or two, so patience pays off.
Harvest Day Prep
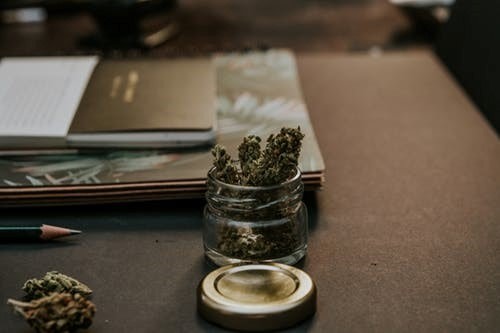
When you are ready to chop, stop watering one to two days before harvest. Cut the plant at the base or remove individual branches, then trim the fan leaves and hang the branches upside down in a dark room with temperatures around 60 to 70 degrees and humidity around 50 to 60 percent. Drying takes about 7 to 14 days. Once the small stems snap rather than bend, your buds are ready for curing in glass jars. Proper drying and curing makes a massive difference in taste and smoothness, so do not rush this step.
Final Thoughts
The flowering stage is the most rewarding part of the grow, but it also requires the most attention. Keeping your pH stable, your humidity in check, and your nutrients dialed in will give your plant every advantage it needs to produce thick, frosty buds. Trust the process, watch your trichomes, and harvest when the plant tells you it is ready.